
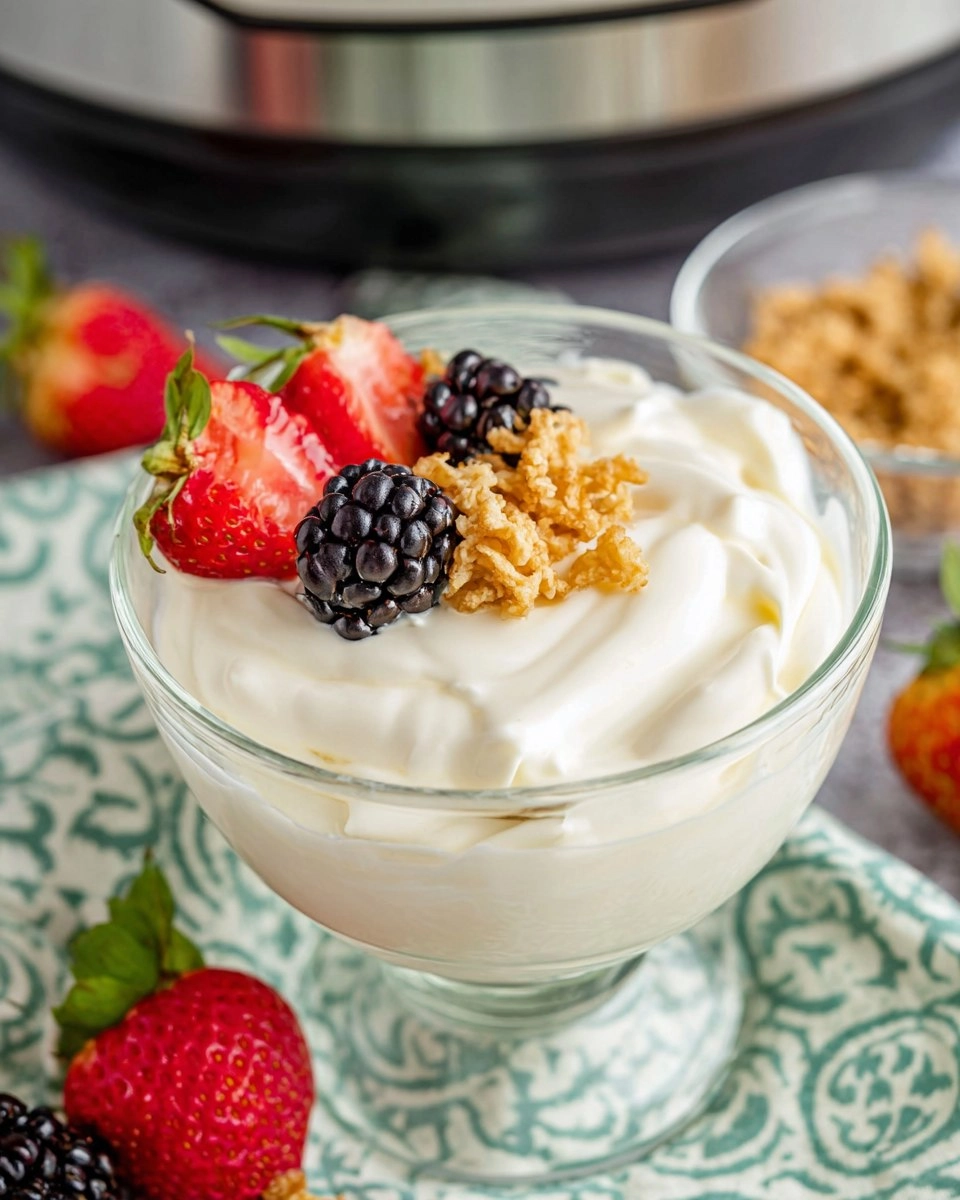
Slow your life down and treat yourself to a homemade delight with this Slow Cooker Yogurt recipe. Simple in its premise, yet transformative in taste, making yogurt at home gives you complete control over flavors and textures. Each batch you create is rich and creamy, bursting with that fresh, tangy goodness that store-bought varieties simply can’t replicate. Plus, there’s a certain joy in knowing you crafted this delicious snack right in your very own kitchen!
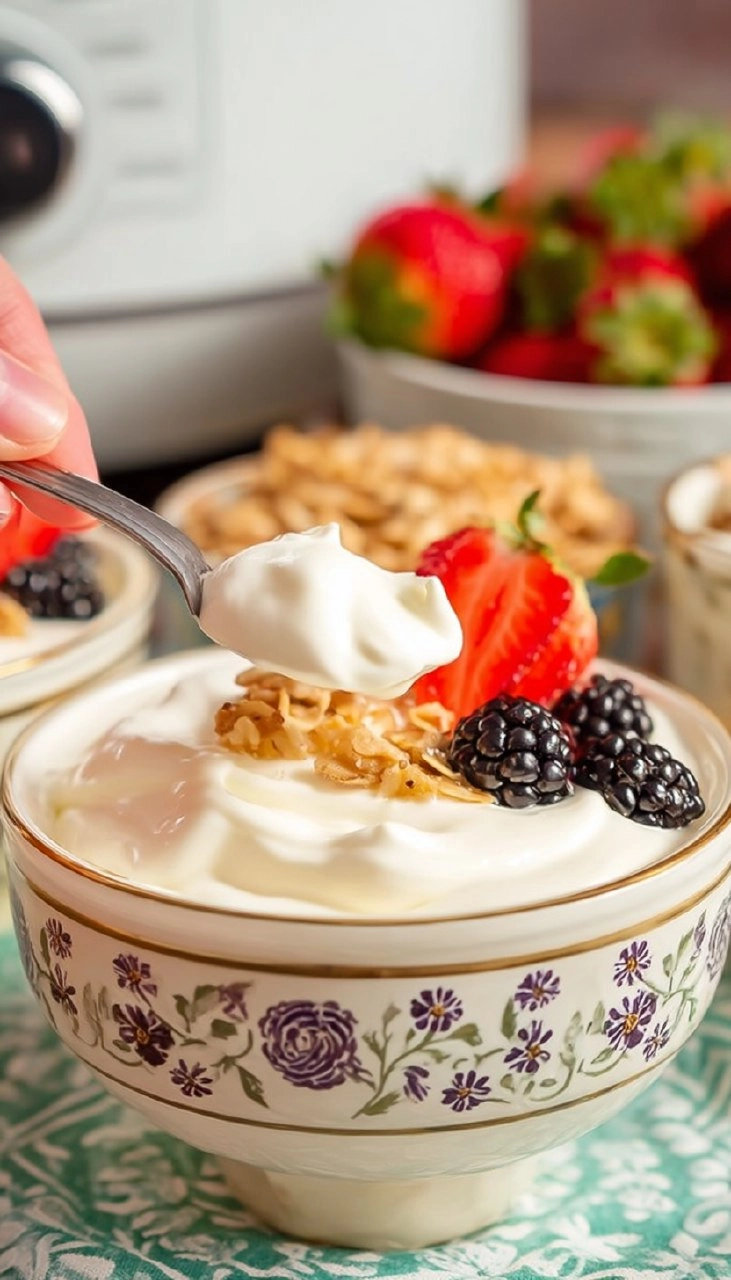
I first discovered this recipe when I was looking for a healthy snack option that also satisfied my cravings for something comforting. The thought of warm, creamy yogurt with fruit and a drizzle of honey sounded absolutely divine. Little did I know, the process would be straightforward and incredibly rewarding. With just two humble ingredients, you can whip up a batch that will leave you craving more. Whether you’re dolloping it onto pancakes, mixing it with granola, or simply enjoying it straight from the bowl, you’ll be glad you took the plunge into homemade yogurt. Ready to jump in? Let’s get started!
Why You’ll Love This Recipe
- Simple & Quick: This recipe takes about 15 minutes of prep time, making it super easy to fit into your routine.
- Irresistible Flavor: Experience a creamy texture with a tangy taste that makes every spoonful delightful.
- Eye-Catching Appeal: Homemade yogurt looks impressive in jars, topped with fresh fruits or nuts.
- Flexible Serving: Perfect for breakfast, snacks, or even dessert; it’s a versatile treat for any time of day.
- Diet-Friendly Options: This yogurt is gluten-free, and can be enjoyed by most dietary preferences.
Ingredients You’ll Need
- ½ gallon whole milk: This is the main body of your yogurt. Whole milk gives the best flavor and richness, but you can substitute 2% or skim milk if you prefer a lighter version.
- ¼ cup plain Greek yogurt with live active cultures: This serves as your starter. It’s essential to use yogurt containing live active cultures; this is what ferments your milk into yogurt. Look for a brand with no added sugars or flavors for the best results.
How to Make Slow Cooker Yogurt
- Heat the Milk: Begin by pouring ½ gallon of whole milk into your slow cooker. Set it to low heat and let it warm up for about 2.5 to 3 hours, until it reaches 180°F (82°C). This step is vital for achieving the perfect texture and flavor.
- Cool Down: Once your milk is heated, turn off the slow cooker and allow it to cool to 110°F (43°C). This cooling period can take 2 to 3 hours; if you want to speed things up, simply remove the ceramic insert from the cooker.
- Mix the Starter: In a separate bowl, take 1 cup of the warm milk from the slow cooker and mix it with the ¼ cup of plain Greek yogurt. Whisk until well combined; this mixture serves as your yogurt cultures.
- Combine the Mixture: Stir the yogurt mixture back into the slow cooker with the rest of the warm milk. Make sure to blend it well, ensuring all cultures are evenly distributed.
- Incubate: Cover your slow cooker and wrap it with a thick towel to help keep it warm. Let the yogurt culture for about 8 to 12 hours. It’s best if your room temperature stays above 68°F (20°C), as cooler temperatures can prevent proper thickening.
- Check the Thickness: After the incubation period, peek under the towel to see if the yogurt has thickened. For Greek-style yogurt, use a strainer lined with cheesecloth over a bowl, and pour your yogurt into it. Allow it to strain in the refrigerator for a few hours, or up to 24 hours if you prefer a thicker result.
- Store: Finally, transfer your beautiful yogurt into containers. Refrigerate it, which not only enhances its firmness but also elevates its flavor profile.
Storing & Reheating
To keep your homemade yogurt tasting fresh, store it in airtight containers and pop it in the refrigerator. It will stay good for about 2 weeks. If you find yourself with surplus yogurt, consider freezing portions in airtight bags—up to three months works best. Thaw it in the fridge and give it a good stir before using. Keep in mind that the texture may change slightly after freezing, but you can always refresh it with a little milk or by blending.
Chef’s Helpful Tips
- Be patient during cooling; this allows the cultures to thrive, meaning thicker yogurt for you.
- Keep your tools clean! Sanitize your mixing bowl and utensils to prevent unwanted bacteria from interfering with your yogurt.
- Adjust the incubation period according to your taste preference—longer for tangier yogurt or shorter for milder flavors.
- Experiment with flavorings! Once you have your base yogurt, adding vanilla extract, honey, or even fruit purées is a fun way to customize your batch.
- If you want to strain your yogurt to make a creamier Greek-style yogurt, don’t rush the process; achieving the right consistency may take a while.
You’ve now crafted a delicious staple from scratch! Enjoy the benefits of homemade, creamy yogurt, knowing you’ve saved money while creating something wholesome. Don’t hesitate to let your creativity shine by experimenting with flavors, toppings, and even recipes that incorporate your homemade yogurt. When it comes to freshness and taste, the satisfaction you’ll feel is unmatched.
Recipe FAQs
Can I use different types of milk for this recipe?
Absolutely! While whole milk is recommended for the creamiest texture, feel free to use 2% or skim milk. Note that using lower-fat options may result in a thinner yogurt, but you can still achieve great flavor.
How do I know when my yogurt is ready?
Your yogurt should have thickened and have a slightly tangy aroma after the incubation period. Gently give it a stir; if it holds its shape and shows no liquid separation, it’s time to congratulate yourself on a successful batch!
What should I do if my yogurt doesn’t thicken?
If your yogurt hasn’t thickened, it may be due to temperature fluctuations during incubation. Ensure your kitchen stays warm enough, or try extending the culturing time. If this continues to happen, consider checking the freshness of your yogurt starter.
How can I flavor my yogurt?
The possibilities are endless! After straining, you can mix in vanilla extract, fresh or frozen fruit, honey, or even a sprinkle of cinnamon for a twist. Just stir gently to maintain the texture once you add your mix-ins.
Embrace the joy of crafting your yogurt, and let it find its way into your daily meals. Happy cooking!
Print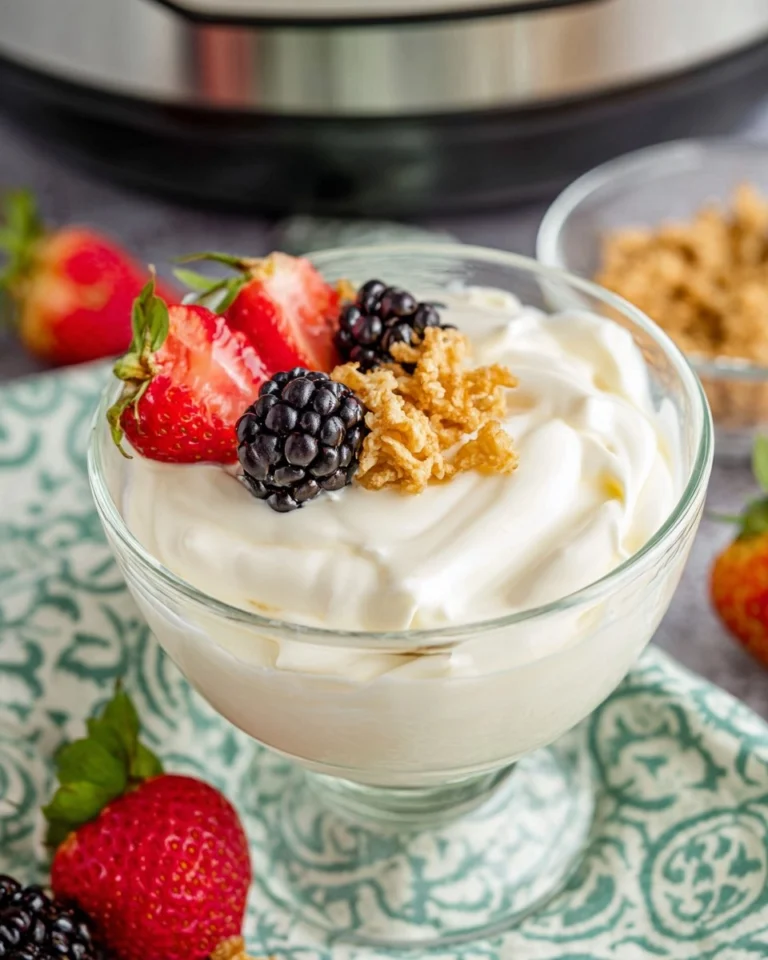
Slow Cooker Yogurt
This Slow Cooker Yogurt is rich, creamy, and incredibly simple to make. With just whole milk and plain Greek yogurt, you can have homemade yogurt that’s perfect for breakfast or snacks.
- Total Time: 8 hours
- Yield: 8 servings 1x
Ingredients
- ½ gallon whole milk
- ¼ cup plain greek yogurt with live active cultures
Instructions
- Pour ½ gallon of whole milk into the slow cooker and set it to low heat. Heat for 2.5 to 3 hours until the milk reaches 180°F (82°C).
- Turn off the slow cooker and allow the milk to cool to 110°F (43°C), which may take 2 to 3 hours. For quicker cooling, remove the ceramic insert.
- In a bowl, mix 1 cup of the warm milk from the slow cooker with ¼ cup of plain yogurt until well combined.
- Stir the yogurt mixture back into the slow cooker.
- Cover the slow cooker and wrap it with a thick towel to keep it warm. Allow it to culture for 8 to 12 hours, ensuring the room temperature stays above 68℉ (20℃).
- After incubation, check if the yogurt has thickened. For Greek-style yogurt, strain it using cheesecloth over a bowl for several hours or up to 24 hours to reach desired thickness.
- Transfer the yogurt to containers and refrigerate to enhance firmness and flavor.
Notes
Make sure to use plain yogurt with live active cultures for successful fermentation.
For a thicker yogurt, strain it longer in the fridge for a creamier texture.
- Prep Time: 5 hours
- Cook Time: 3 hours
- Category: Breakfast
- Method: Slow Cooker
- Cuisine: American
Nutrition
- Serving Size: 1/2 cup
- Calories: 100
- Sugar: 5g
- Sodium: 100mg
- Fat: 5g
- Saturated Fat: 3g
- Unsaturated Fat: 1g
- Trans Fat: 0g
- Carbohydrates: 6g
- Fiber: 0g
- Protein: 8g
- Cholesterol: 20mg