
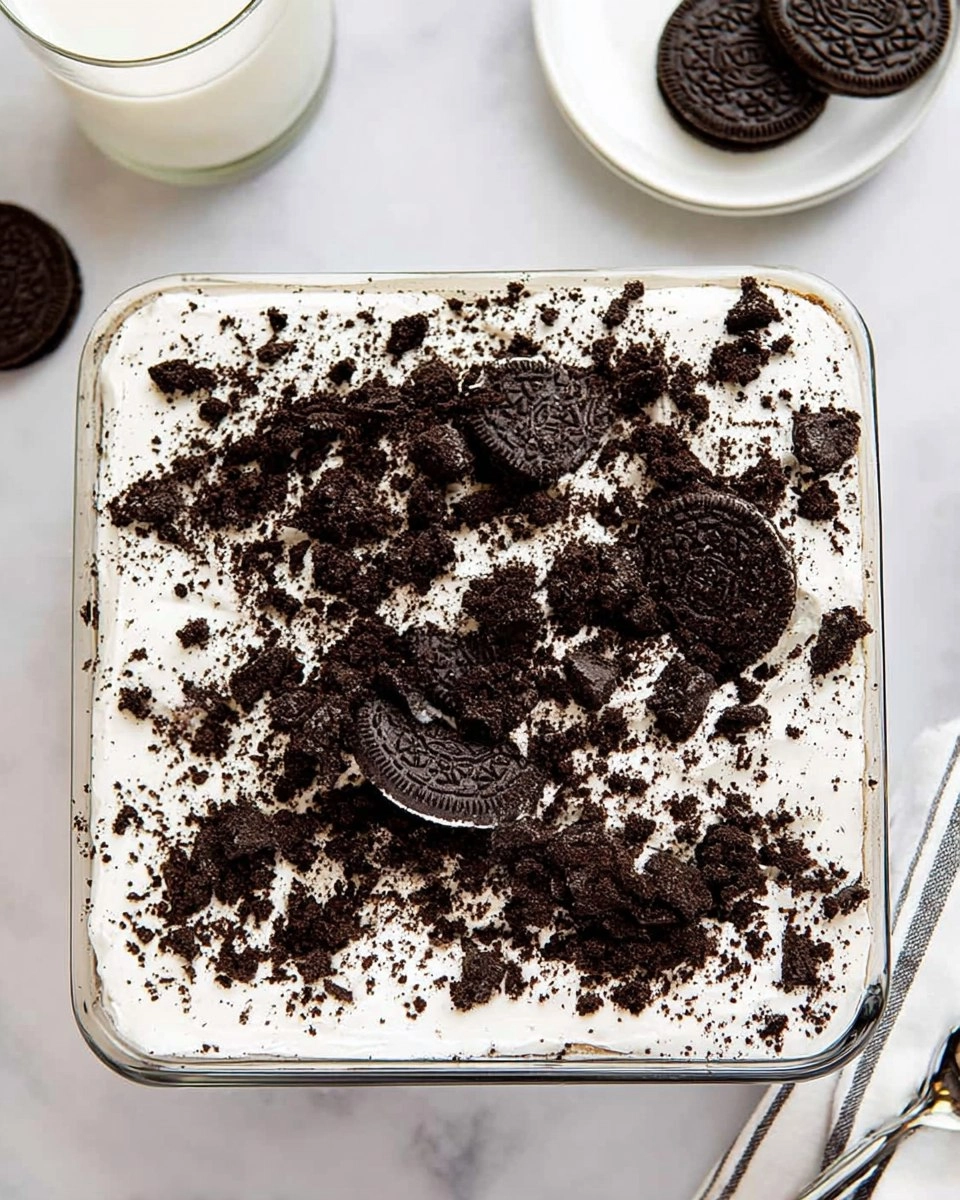
Oreo Icebox Cake is a delightful dessert that combines the rich, creamy goodness of whipped cream and cream cheese with the classic taste of Oreo cookies. With each bite, you experience the perfect balance between the crunch of the cookies and the smooth, fluffy texture of the filling. This dessert is wonderfully easy to assemble and serves as a perfect solution for those last-minute gatherings or sweet cravings that seem to hit when you least expect them.
I first stumbled upon this recipe during a summer picnic, where a friend confidently served it. The look of surprise as each forkful disappeared quickly turned into requests for the recipe. Oreo Icebox Cake really resonates with everyone—it’s comforting, nostalgic, and, most importantly, it’s so much fun to eat! Simple to prepare, budget-friendly, and a guaranteed crowd-pleaser, I’m excited to share my twist on this beloved treat!
Why You’ll Love This Recipe
- Simple & Quick: Only a few ingredients are needed, and assembling takes less than 20 minutes.
- Irresistible Flavor: The combination of Oreo cookies and creamy filling is an absolute delight for your taste buds.
- Eye-Catching Appeal: This dessert is as impressive as it is tasty, making it a star at any gathering.
- Flexible Serving: Perfect for parties, summer barbecues, or even a midnight snack.
- Diet-Friendly Options: You can easily make it gluten-free by using gluten-free Oreos.
Ingredients You’ll Need
- 48 Oreo cookies: These iconic cookies provide the chocolatey base that makes the cake irresistible. Feel free to substitute with any chocolate wafer cookies if you need a change.
- 4 ounces cream cheese, softened: This adds a nice richness and tanginess to the whipped cream layer. Allow it to sit at room temperature to soften properly.
- 2 ½ cups heavy whipping cream, cold: Whipping cream creates the luscious, airy texture. Make sure it’s cold for the best results.
- ½ cup confectioners’ sugar: This sweetens the filling without being grainy. You can adjust this to taste based on your preference for sweetness.
- 1 teaspoon vanilla extract: A splash of vanilla gives a warm flavor that beautifully complements the other ingredients.
- Crushed Oreo cookies: For garnishing on top, providing that lovely visual touch and extra crunch.
How to Make Oreo Icebox Cake
- Chill your equipment: Start by placing the bowl of a stand mixer and the whisk attachment in the freezer for 15 to 20 minutes. A chilled bowl helps the heavy cream whip up properly.
- Blend the cream cheese: In the chilled bowl, beat 4 ounces of softened cream cheese with an electric mixer until it’s smooth and creamy.
- Add whipped cream ingredients: Pour in 2 ½ cups of cold heavy whipping cream, ½ cup of confectioners’ sugar, and 1 teaspoon of vanilla extract. Beat on medium-high speed until stiff peaks begin to form. Be cautious not to overbeat, or it may turn grainy.
- Create the first layer: Use a spatula to spread a thin layer of the whipped cream mixture into the bottom of an 8×8-inch baking dish.
- Layer the cookies: Arrange a single layer of Oreo cookies over the whipped cream. You might need to break a few to fit them snugly.
- Spread more whipped cream: Use about one-third of the remaining whipped cream mixture to cover the cookies evenly.
- Repeat the layers: Complete two additional layers, finishing with a generous layer of the whipped cream mixture on top.
- Garnish it: Sprinkle the top with crushed Oreo cookies for a delightful finishing touch.
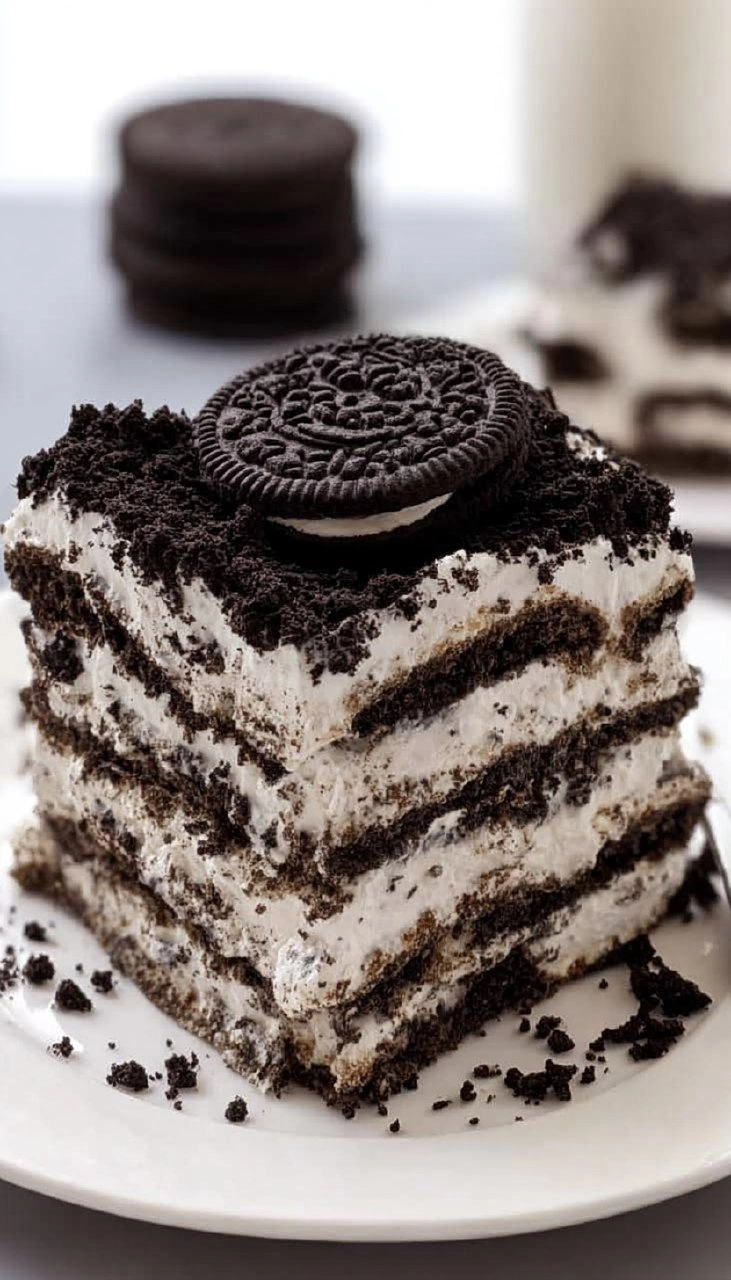
- Chill before serving: Cover the dish tightly and refrigerate it for at least 6 to 8 hours, or overnight. This step is crucial, as the cookies will soften and turn into cake-like goodness.
- Serve cold: For cleaner slices, consider placing the cake in the freezer for 20 to 30 minutes before cutting.
Storing & Reheating
To store any leftovers, cover the dessert tightly with plastic wrap or in an airtight container. It’s best kept in the refrigerator, where it will last for about 3 to 4 days. If you want to keep it longer, you can freeze slices of the cake for up to 3 months. Just be sure to wrap them well to prevent freezer burn. When you’re ready to enjoy a slice, let it thaw in the fridge overnight. Texture and flavor might change slightly after freezing but will still be delicious!
Chef’s Helpful Tips
- Avoid overbeating your whipped cream. Stiff peaks are key for a smooth texture, but overdoing it turns it grainy.
- Ensure cream cheese is at room temperature for a seamless blend into the whipped cream mixture.
- If you want to switch up the flavors, add a tablespoon of your favorite liqueur or flavored extract to the cream.
- For added decadence, layer some mini chocolate chips or other sweet treats between the layers.
Oreo Icebox Cake is not only indulgent but also surprisingly easy to whip together. It’s the kind of recipe that you can feel confident making, even if you’ve never baked before. As you slice into the chilled cake, the cookies unveil their transformed texture, and the sweet, creamy filling makes each bite a gorgeous moment.
Recipe FAQs
Can I make this cake in advance?
Absolutely! In fact, making the cake a day in advance allows the flavors to meld beautifully. Just cover it tightly in the refrigerator to keep it fresh.
How long can Oreo Icebox Cake be stored?
When kept in the fridge, this dessert can last for about 3 to 4 days. If you want to keep it longer, freezing it in slices is a great option for up to 3 months.
Can I use a different type of cookie?
Yes! While Oreos are classic, feel free to use any chocolate wafer cookies or even biscuits if you prefer. Just be aware that textures might vary slightly.
What can I do if my whipped cream isn’t thickening?
If your whipped cream isn’t reaching stiff peaks, make sure your mixing bowl and beaters are completely clean and cold. You can also try adding a tablespoon of cornstarch to help stabilize the mixture.
Dive into making this delectable dessert and experience every rich, creamy, and crunchy layer! Enjoy the journey of crafting your Oreo Icebox Cake.
Print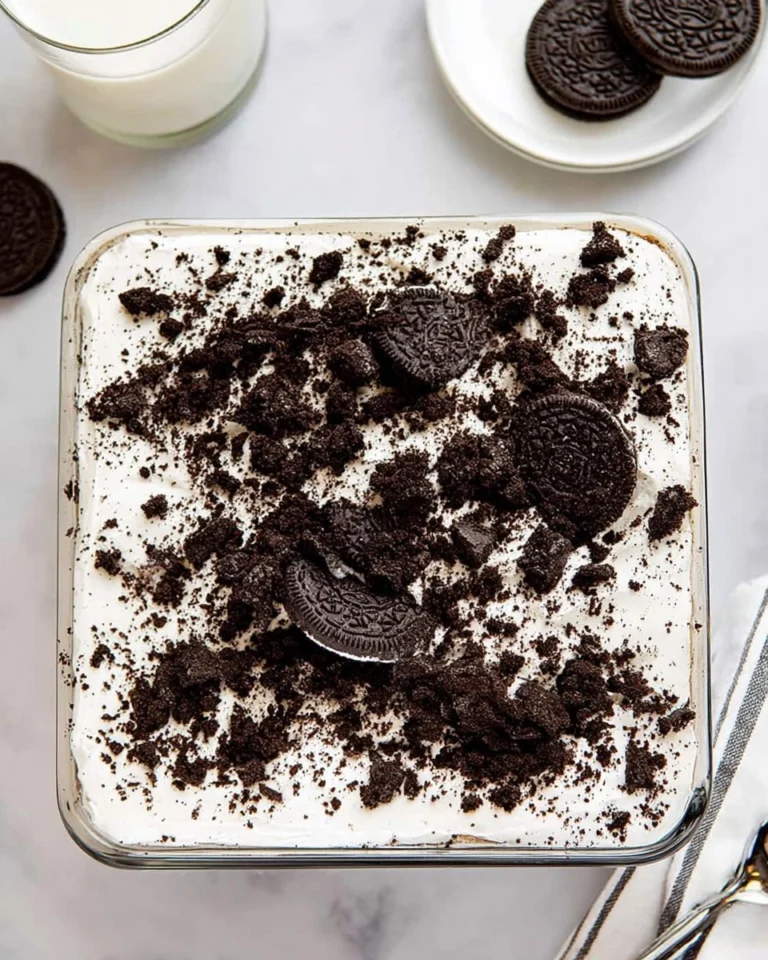
Oreo Icebox Cake
This Oreo Icebox Cake combines rich flavors of cream cheese and Oreo cookies. Perfect for a quick treat, it’s simple to prepare and impressively delicious for gatherings.
- Total Time: 15 minutes
- Yield: 9 servings 1x
Ingredients
- 48 oreo cookies
- 4 ounces cream cheese, softened
- 2 ½ cups (595 g) heavy whipping cream, cold
- ½ cup (62.5 g) confectioners' sugar
- 1 teaspoon vanilla extract
- Crushed Oreo cookies
Instructions
- Chill the bowl and whisk attachment of a stand mixer in the freezer for 15 to 20 minutes.
- In the chilled bowl, beat the cream cheese until it's smooth. Add the cold heavy whipping cream, confectioners’ sugar, and vanilla extract, then beat on medium-high speed until stiff peaks form, taking care not to overbeat.
- Spread a thin layer of the whipped cream mixture into the bottom of an 8×8-inch baking dish.
- Arrange a layer of Oreo cookies over the whipped cream, breaking some cookies as needed to fit.
- Spread one-third of the remaining whipped cream mixture evenly over the cookies.
- Repeat the layers two more times, finishing with a final layer of whipped cream on top.
- Sprinkle crushed Oreo cookies over the top layer.
- Cover tightly and refrigerate for at least 6 to 8 hours, or overnight to allow the cookies to soften.
- Serve cold, and for cleaner slices, freeze for 20 to 30 minutes before cutting.
Notes
Let the cake chill overnight for best flavor and texture.
Feel free to customize by adding other toppings like chocolate shavings for extra delight.
This cake is best enjoyed cold, making it perfect for summer gatherings.
- Prep Time: 15 minutes
- Cook Time: 0 minutes
- Category: Desserts
- Method: No-Bake
- Cuisine: American
Nutrition
- Serving Size: 1 slice
- Calories: 290
- Sugar: 18g
- Sodium: 150mg
- Fat: 22g
- Saturated Fat: 12g
- Unsaturated Fat: 10g
- Trans Fat: 0g
- Carbohydrates: 27g
- Fiber: 1g
- Protein: 3g
- Cholesterol: 60mg